Support for advanced product configurations, pricing tiers and inventory are all included by default in Marketspread Point of Sale (POS) for no additional cost.
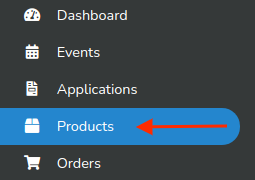
All product configurations can be done via the Mobile Point of Sale App or via a Web Browser. To access products from your Web Browser log into your account and click Products in the lefthand toolbar.
Configure simple product price
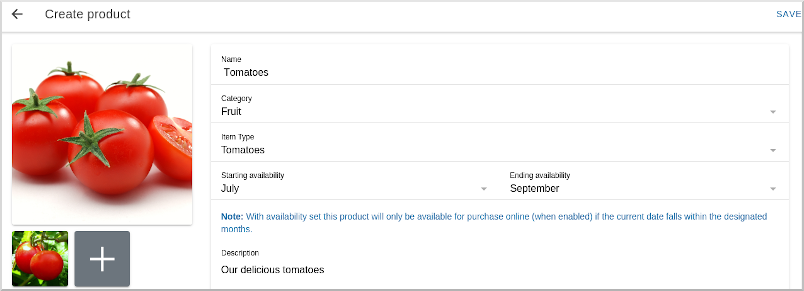
Create a new product or click on a product to modify it. In the example below we are creating a new product for Tomatoes.
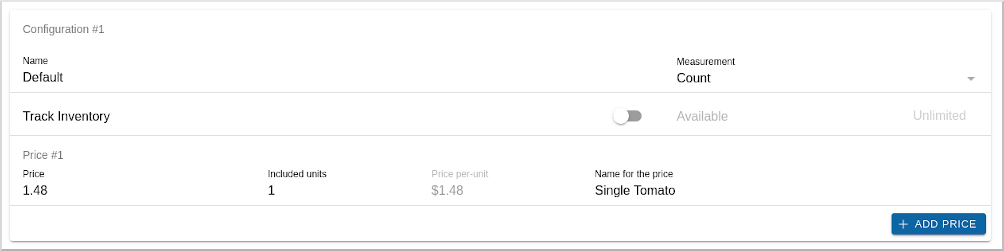
Under the main product definition section you will see a section titled Configuration #1. To configure a single price, the only field that you are required to enter is the Price field. If you only intend to have one Configuation the configuration Name can be left as Default. The price name (Name for the price) field is also optional but is recommend when you have more than one price per product for ease of understanding.
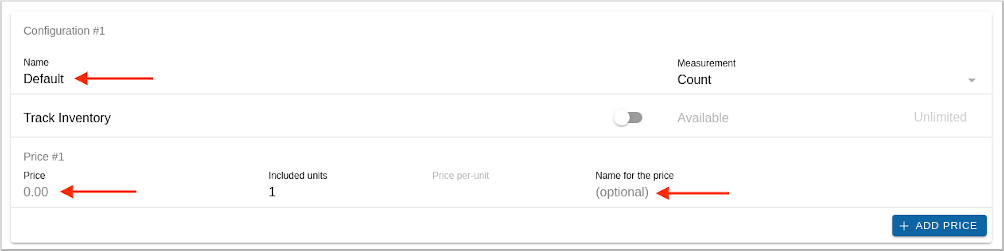
For this example we left the Name as Default, added a Price of $1.48 per 1 unit (tomato) and named that price "Single Tomato".
To save your product, click on the blue SAVE button at the top right.

Configure product with 2 prices
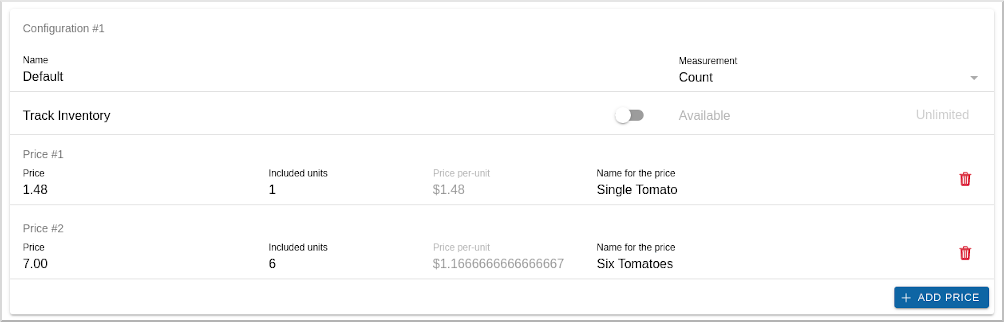
In some cases you may want to have more than one price per product. An example would be bulk / volume discounting. Building on our example above, if you sold a single tomato for $1.48 but wanted to offer a price of 6 tomatoes for the price of $7.00 (a savings of $1.88) you could create a second price as follows.
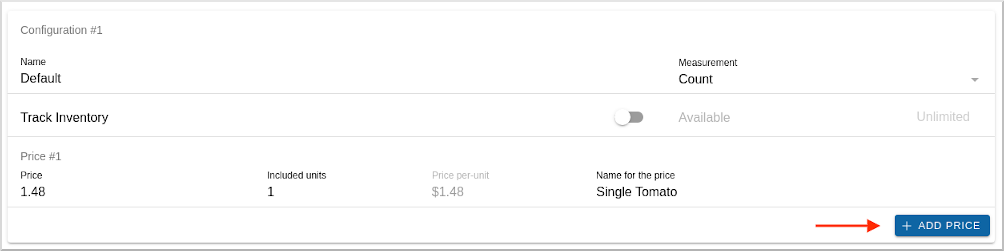
First, click on the blue + ADD PRICE button at the bottom right of the price configuration panel.
Then, enter the Price, Included Units and Name for the price. See example in the screenshot below:
For each product configuration you can create as many prices as you would like. When you are done adding prices you can save by clicking the blue SAVE button at the top right.
Selecting Product Prices in the Point of Sale App
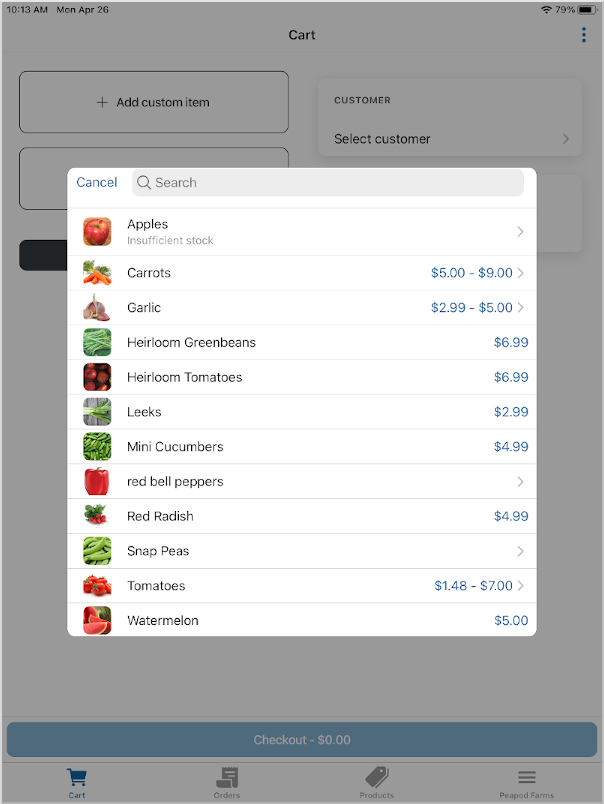
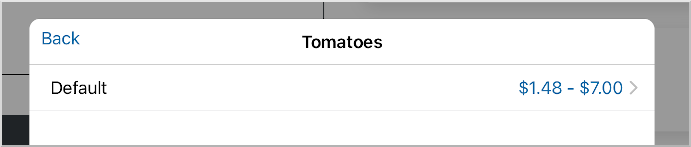
To select a product pricing configuration in your mobile POS App, first click the + Add Product button. This will display the product selector window as can be seen in the screenshot below. Note that our example Tomatoes product is listed second to last.
Clicking on Tomatoes, will display the product configuration options - for this example named "Default".
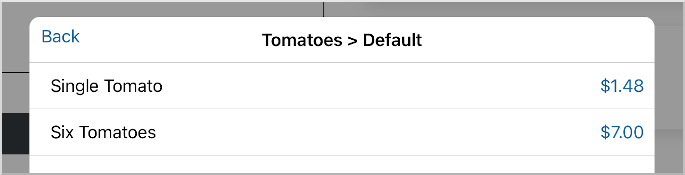
Clicking on the Default configuration option with then display the pricing configurations. For this example we will choose the "Six Tomatoes" option.
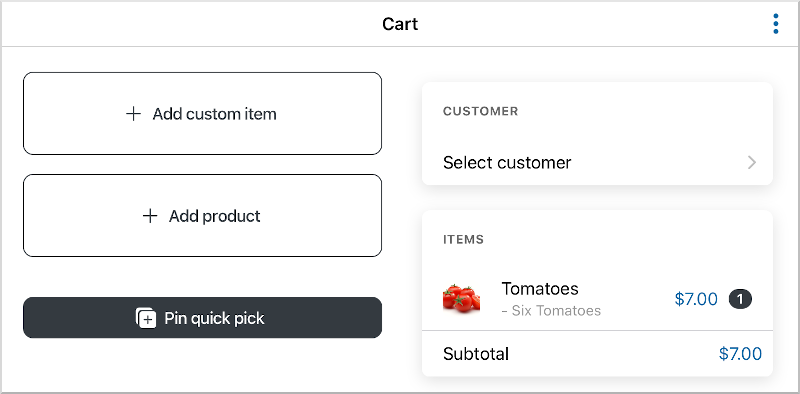
After selecting your product configuration and price options it will load into your Cart as seen below. You can add as many products and price configurations to your Cart as needed.