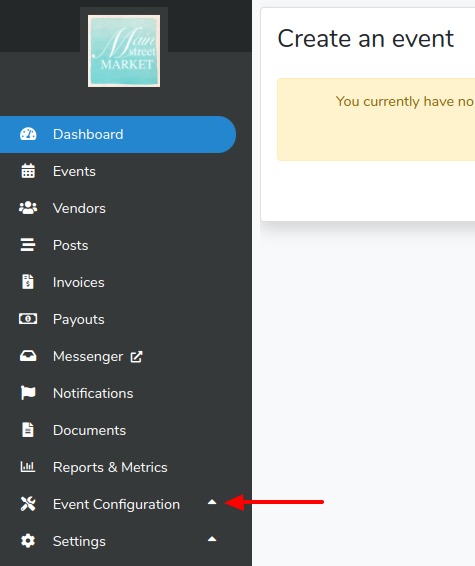
Notice from your Market Dashboard you're greeted with a notification that you have no events and should create one to proceed. You'll also notice a Market Guide and Fee Guide ready for you to view our Farmspread/Marketspread glossary and better understand our vocabulary.
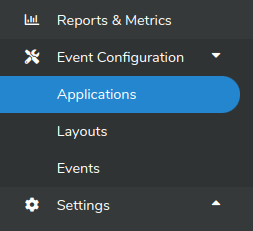
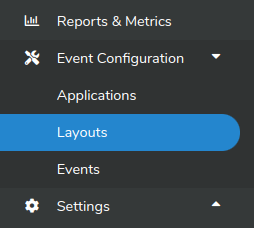
To get started, in the left side panel, click on Event Configuration then Applications.
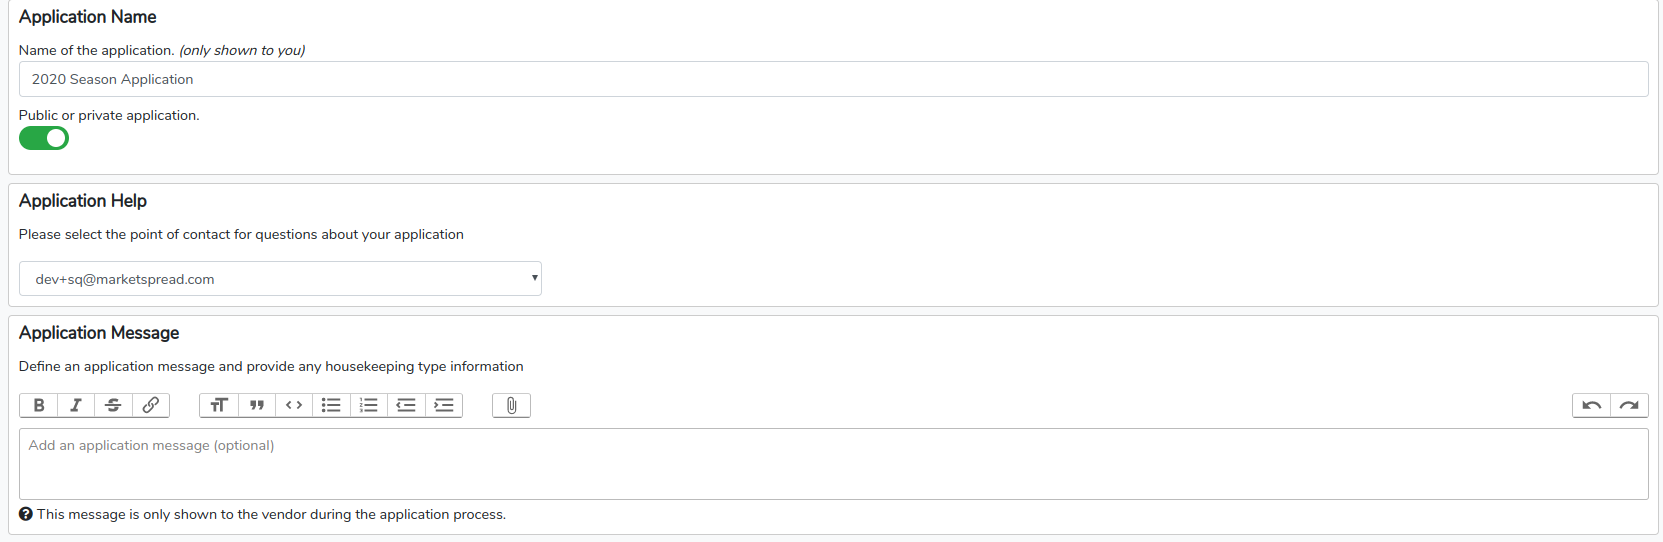
Next click +Add application template.

Complete the form as needed. Each section explains what is necessary to complete. When you're done, click Save.
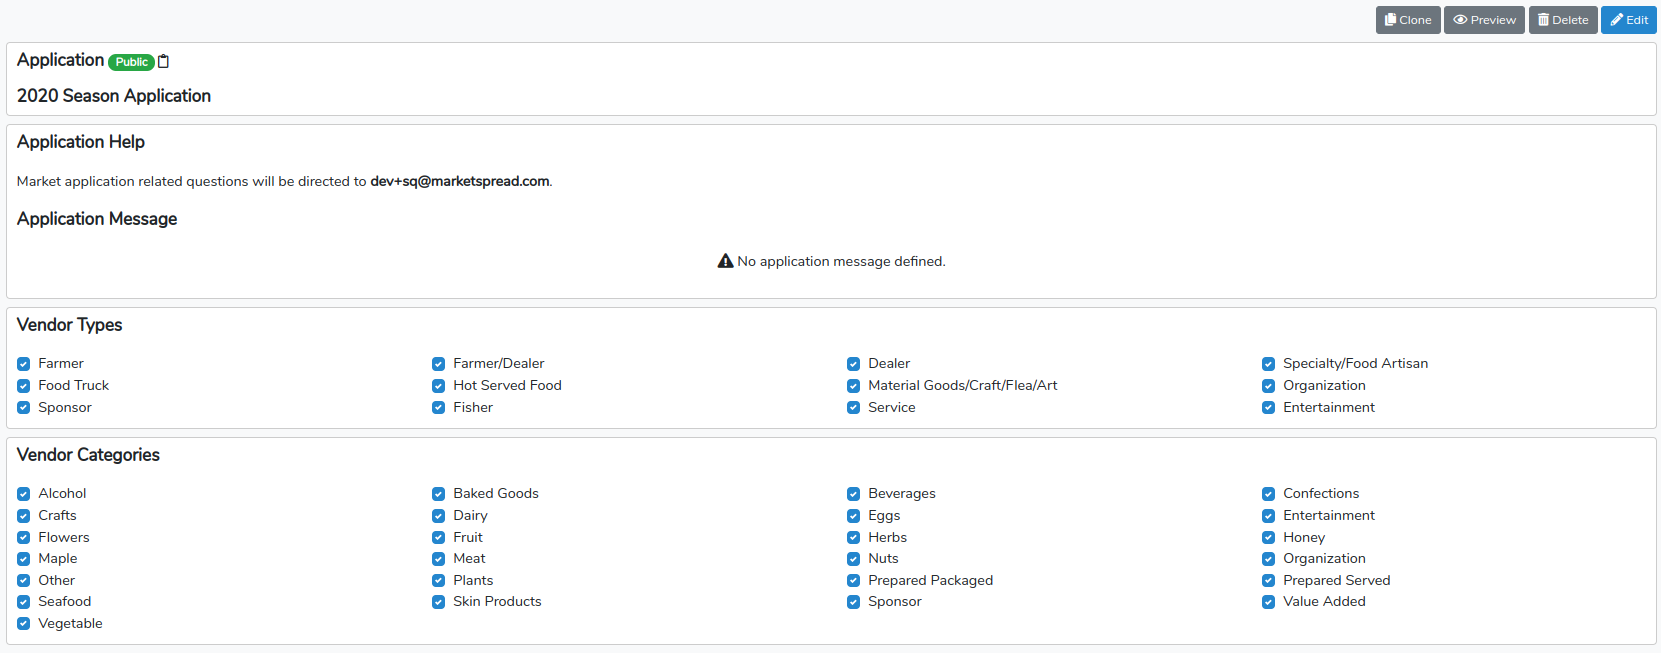
Click Preview in the top right corner to see what your Application will look like to your vendors. Note, if your Application remains the same year after year, you can clone your Application so you don't have to create a new one each year.
Next, you'll need to create your Layout in our advanced and easy to use Layout Editor. From the Market Dashboard, go to Event Configuration then Layouts.
Note, you'll have activated layouts and layout templates. The templates are what you create and activated layouts reflect those templates used in your events.
Click +Add layout template.

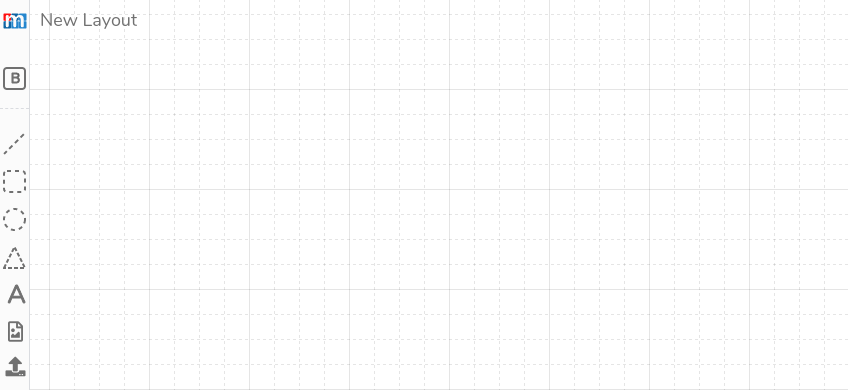
Now you're in the Layout Editor. It's quick and easy to use. A few features to note: the B represents Booth. This is how we charge you. Make sure you have an accurate count of booths. You can also upload a current layout if you don't want to create one from scratch. When you're done, in the top right corner click Save and Close. For more information on how to use the Layout Editor, check out this article: https://marketspread.com/support/article/317/
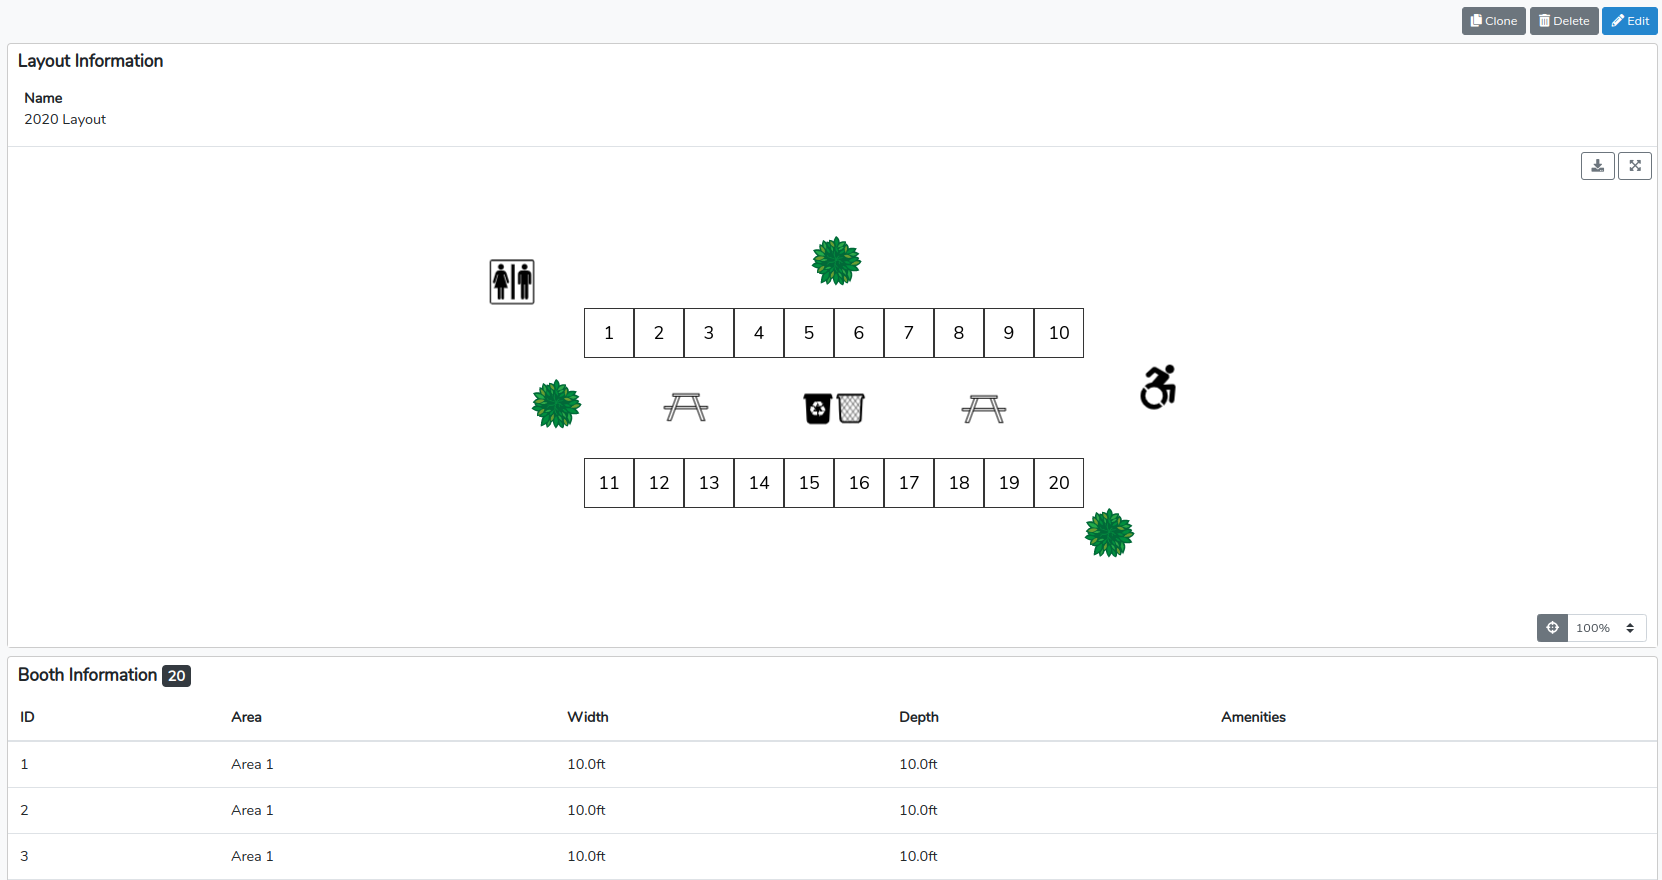
Now you have a new layout template. Click the eye to preview your new layout template.

If you need to make any edits or clone this template, you can do so in the top right corner.
Don't worry about any activated layouts. You'll pick your layout when you create your event settings.
Last, you'll want to set up your event settings. From your Market Dashboard go to Event Configuration then Events. Click +Add event.

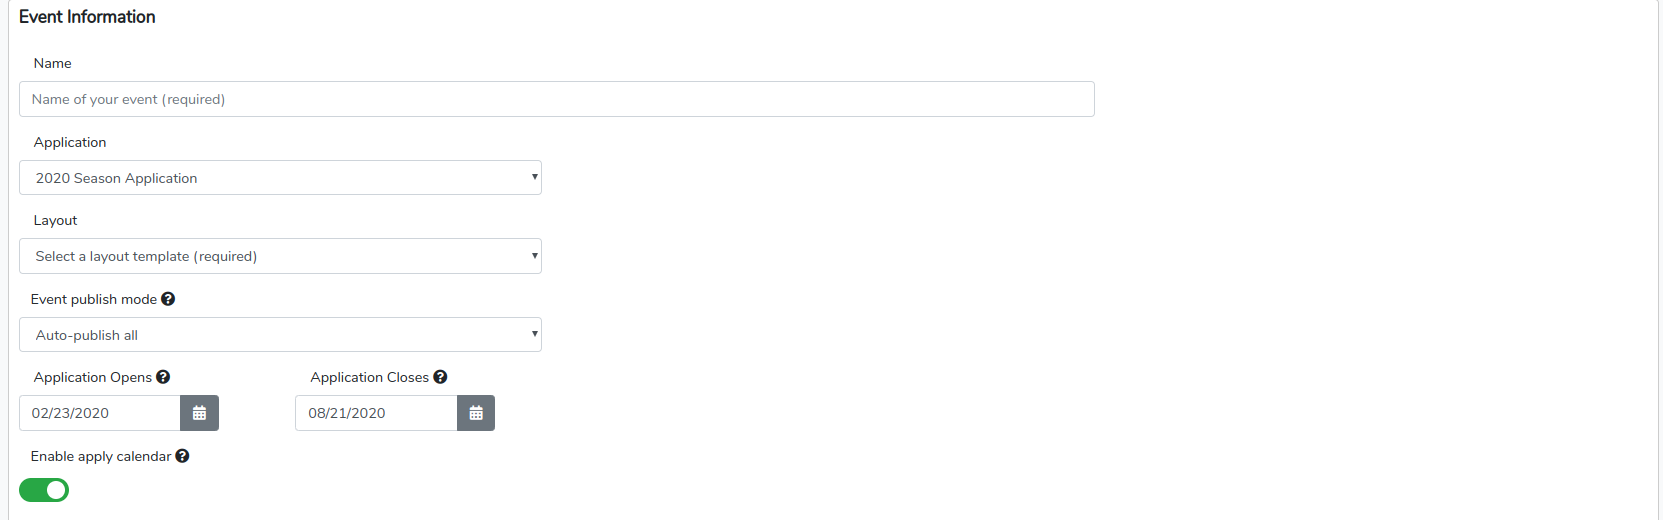
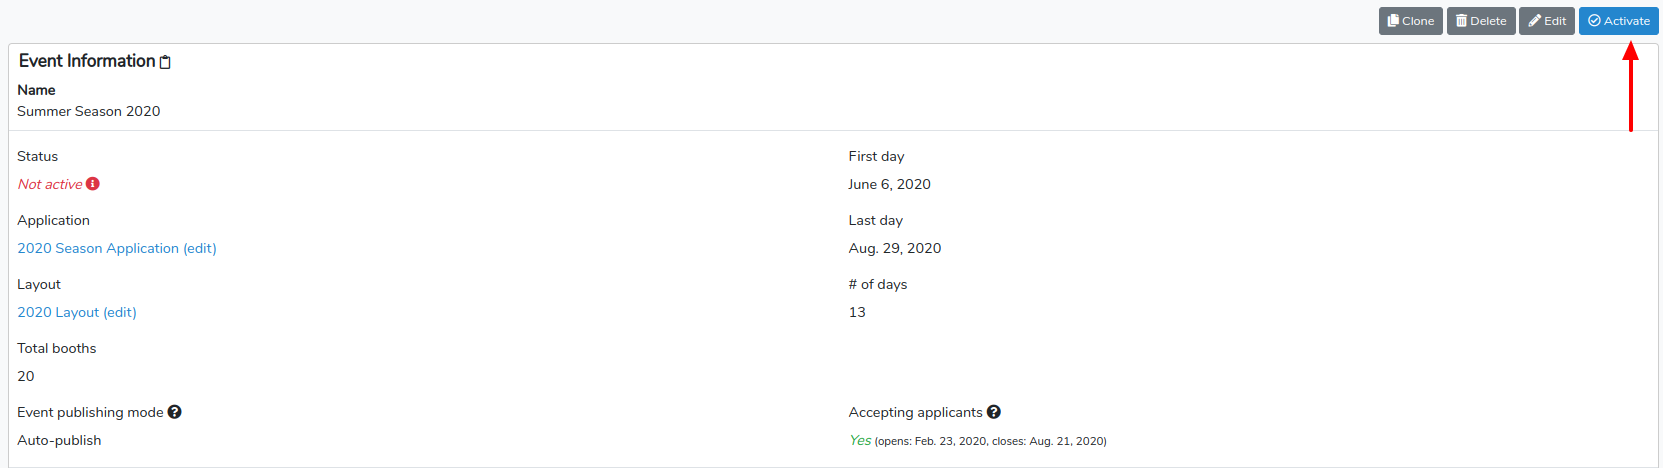
Next, fill out the event information as needed. Each section explains what to do to complete it. When you're done click Save Event.
Now you can Activate your Event. Click Activate in the top right corner.
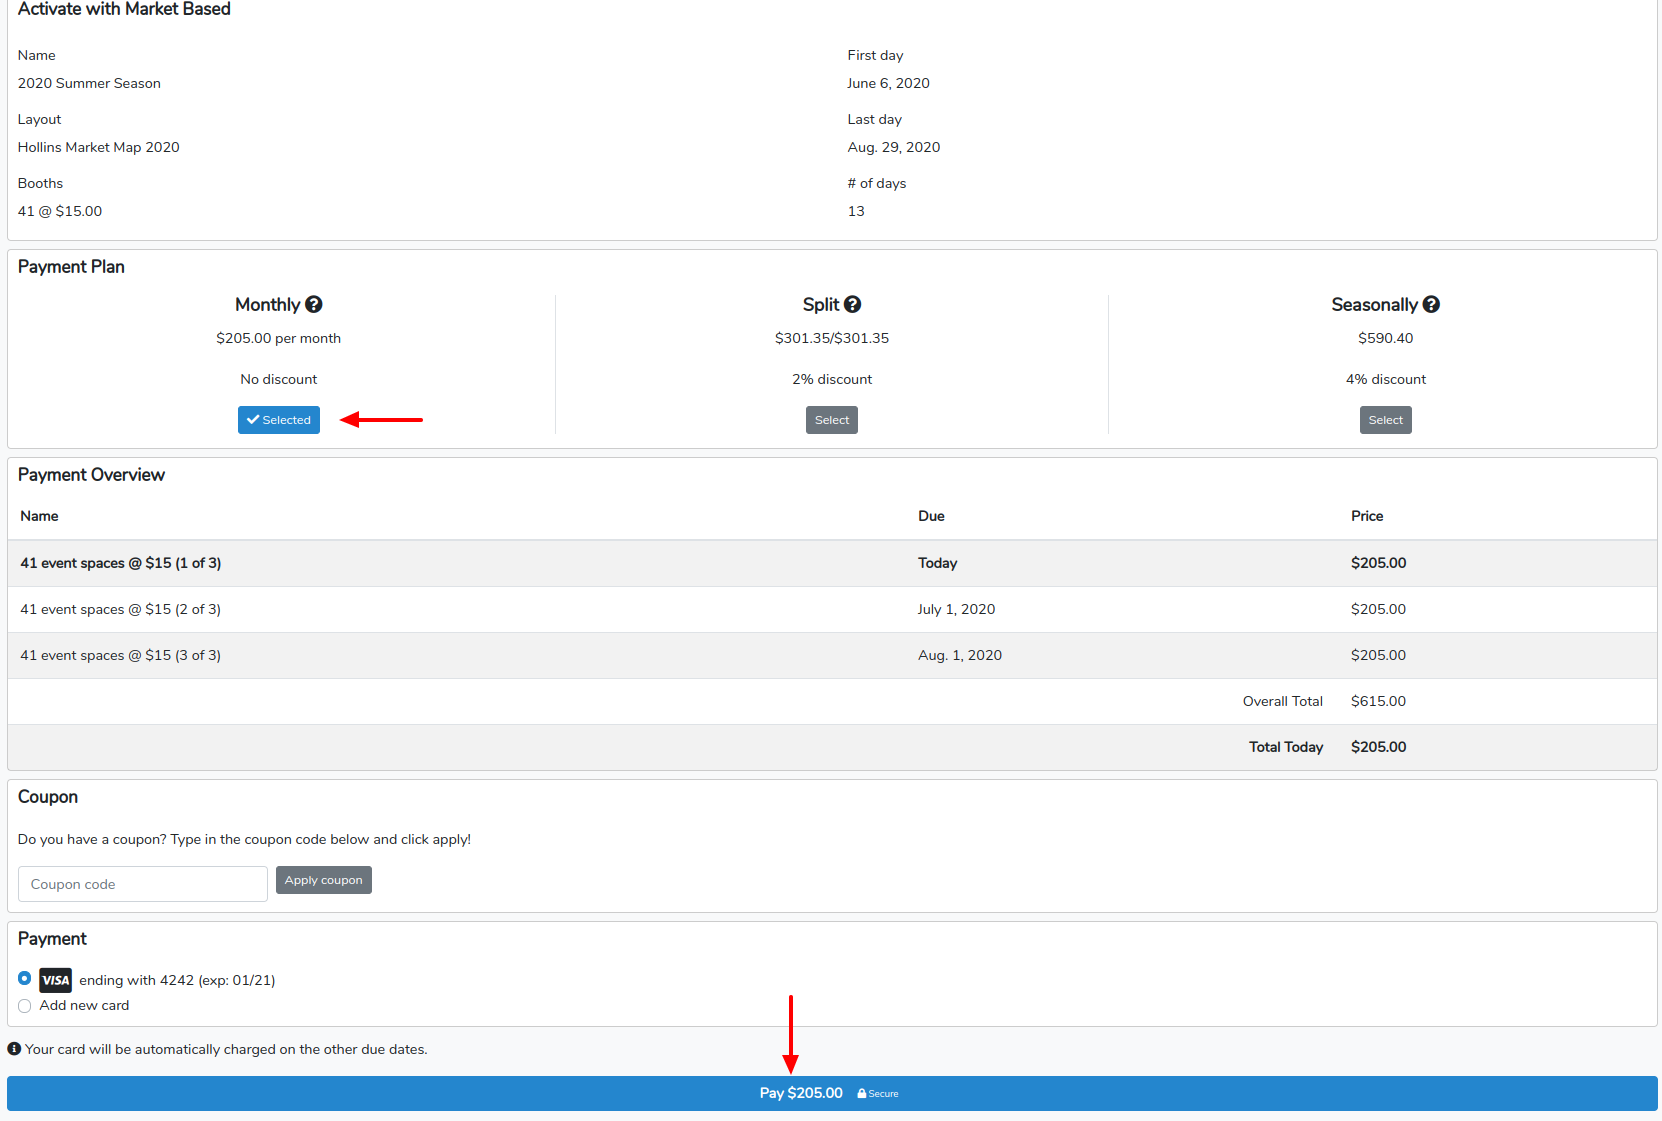
Next, we offer two payment options, Market Based or Vendor Pass-through.

For the Market Based option, choose your preference for payment and click the blue Pay button at the bottom.
For the Vendor Pass-through option, there's a small activation fee so you can start accepting vendors. Click the blue Pay button at the bottom of the page. You'll receive an invoice each month reflecting the number of vendors you accept into your event.
